Connect FluentCRM to Advanced Custom Fields

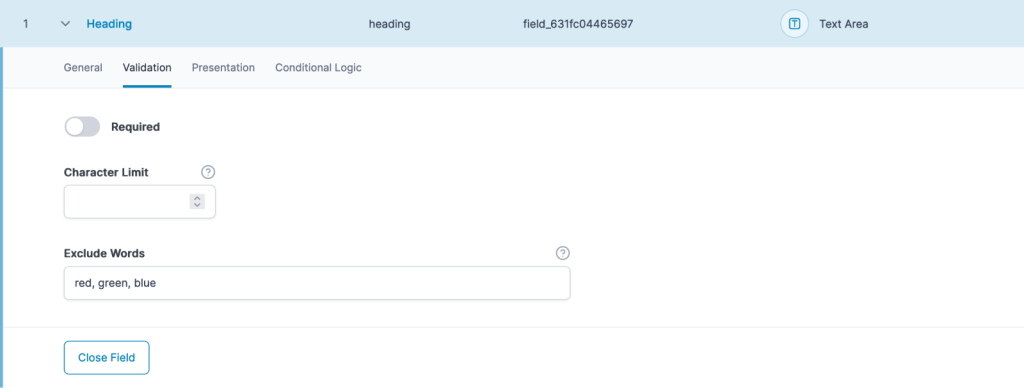
FluentCRM is a powerful customer relationship management (CRM) plugin for WordPress that allows you to manage your contacts, create email campaigns, and track customer interactions. One of the great features of FluentCRM is its ability to integrate with Advanced Custom Fields (ACF), a popular plugin that allows you to add custom fields to your WordPress website.
-
Steps to connect FluentCRM to Advanced Custom Fields
- 1. Go to the FluentCRM dashboard
- 2. Click on Settings in the top right corner of the main navigation bar
- 3. Navigate to Custom Contact Fields in the left sidebar menu
- 4. Click on "Add Field"
- 5. Choose the desired field type from the available options
- 6. Give the field a label
- 7. Enter any additional information required for the field type
- 8. For radio input type fields, enter the options and press Enter on the keyboard
- 9. Arrange the fields in the desired order using the Up and Down arrows
- 10. Edit or delete fields as needed using the Edit or Delete buttons
- 11. The added custom contact fields will be displayed under the Custom Profile section in the contact information
Steps to connect FluentCRM to Advanced Custom Fields
1. Go to the FluentCRM dashboard
To get started, log in to your WordPress admin dashboard and navigate to the FluentCRM plugin. Click on the "FluentCRM" option in the main navigation menu.
Once you are on the FluentCRM dashboard, look for the "Settings" option in the top right corner of the main navigation bar. Click on it to access the plugin's settings.
In the settings menu, you will see a left sidebar with various options. Look for the "Custom Contact Fields" option and click on it. This will take you to the page where you can manage your custom fields.
Related Topic: FluentCRM Cron Job: How to Set Up a Cron Job for FluentCRM?
4. Click on "Add Field"
On the Custom Contact Fields page, you will see a button labeled "Add Field". Click on it to start creating a new custom field.
5. Choose the desired field type from the available options
FluentCRM offers a variety of field types that you can choose from. These include text, number, email, phone, date, dropdown, checkbox, and radio. Select the field type that best suits your needs.
6. Give the field a label
Next, you need to give your custom field a label. This is the name that will be displayed on the contact form and in the CRM. Make sure to choose a descriptive label that accurately represents the information you want to collect.
7. Enter any additional information required for the field type
Depending on the field type you selected, you may need to provide additional information. For example, if you chose the dropdown field type, you will need to enter the options that will be displayed in the dropdown menu.
Related Topic: FluentCRM Frontend: How to Create a Dashboard
8. For radio input type fields, enter the options and press Enter on the keyboard
If you selected the radio input type, you will need to enter the options that will be displayed as radio buttons. Simply enter each option on a new line and press Enter on your keyboard to add it.
9. Arrange the fields in the desired order using the Up and Down arrows
Once you have added all the custom fields you need, you can arrange them in the desired order. To do this, use the Up and Down arrows next to each field to move it up or down in the list.
If you need to make changes to a custom field, you can do so by clicking on the Edit button next to the field. This will allow you to modify the field type, label, and any additional information. If you want to remove a field, simply click on the Delete button.
11. The added custom contact fields will be displayed under the Custom Profile section in the contact information
Once you have added your custom fields, they will be displayed under the Custom Profile section in the contact information. This means that when you view a contact's details in FluentCRM, you will see the custom fields and the information that has been entered for each field.
Related Topic: Connect Elementor to FluentCRM - Step-by-Step Integration Guide
By connecting FluentCRM to Advanced Custom Fields, you can collect and store additional information about your contacts, allowing you to better understand and serve your customers. Whether you need to collect specific details for a membership site, an online store, or a lead generation form, FluentCRM and Advanced Custom Fields make it easy to customize your contact forms and CRM to meet your unique needs.
So, if you're looking to take your CRM to the next level and gather more detailed information about your contacts, consider connecting FluentCRM to Advanced Custom Fields. With this integration, you can create a truly personalized experience for your customers and improve your overall marketing and sales efforts.
If you want to discover other articles similar to Connect FluentCRM to Advanced Custom Fields, you can visit the Tutorials and guides category.

Related Posts: